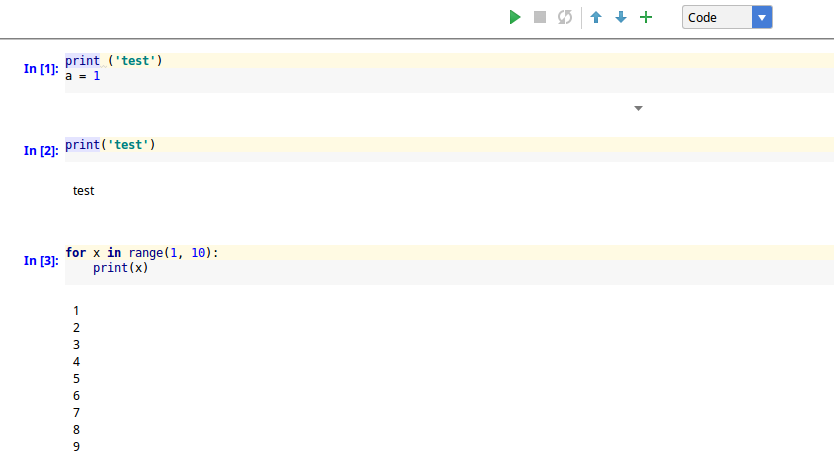
PyCharm support working with Jupyter Notebooks local and remote connection. You can create new Jupyter Notebook by right click of the mouse and selecting:
- New
- Jupyter Notebook

Then you can add new cells and enter code or Markdown. Once the cell is created and fill with code you can executed:
- on remote server
- on local server
- on server started from PyCharm

Server started from PyCharm
Starting PyCharm Jupyter Notebook server:
- Open the Notebook file
- Run a cell
- Modify the URL: http://localhost:8888 ( or the port which you like)
- Press OK
- Warning: Cannot connect to Jupyter Notebook. Run Jupyter Notebook
- New message will be shown at the top:
- PyCharm prompt: Cannot connect to Jypyter Notebook. Run Jupyter Notebook
- Press Run Jupyter Notebook
- New Jupyter server is started from PyCharm
- If you get error:
- Error executing Jupyter command '127.0.0.1': [Errno 2] No such file or directory you can apply the offered fix to install Jupyter.

If you want to check details:
- View
- Tool Windows
- Run
- You can:
- get a token
- URL address to open in browser

Connect to local server from PyCharm
Starting PyCharm Jupyter Notebook server:
- Open terminal
- run command:
bash jupyter notebook list
Currently running servers:
http://localhost:8888/?token=56b65986e4771f5fcc4345ba39417c4f0677b3fa5dbdvd46 :: /home/user/test
- Copy the address, example:
- Open the Notebook file
- Run a cell
- Paste the URL address: http://localhost:8888/?token=f8514..
- Press OK
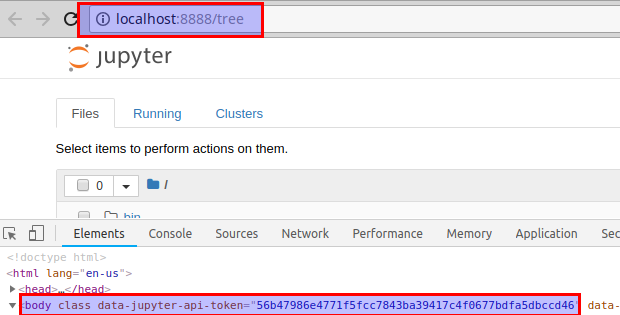
Note: If you don't have access to terminal or you don't want to use it. Then you can get the address and the token by:


